
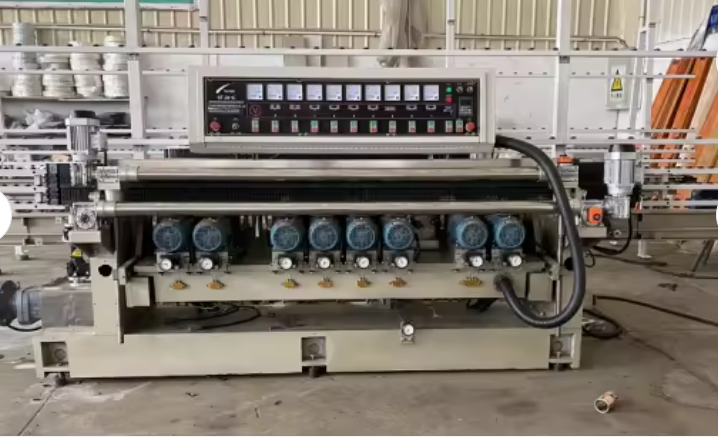
Stop the Chipping: Why We Preheat Glass with IR
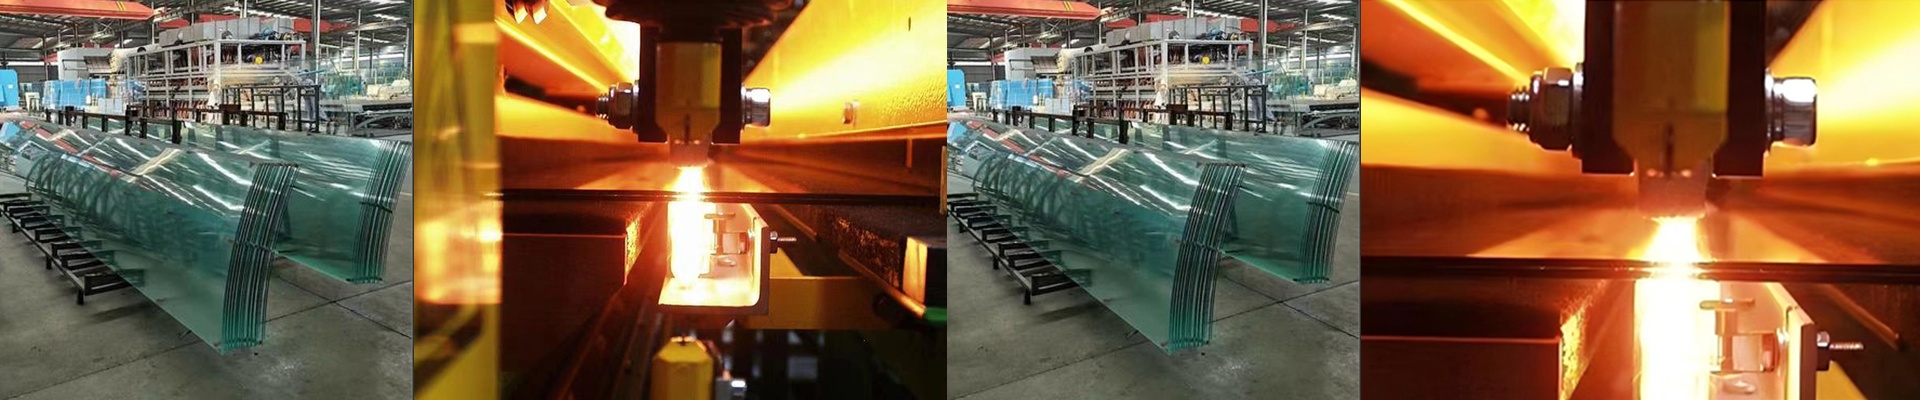
Glass is a nightmare when it’s cold. You hit a frozen sheet with a cutting wheel, and the mechanical stress just creates these tiny, invisible micro-fractures. Then, the moment you go to break it? Boom. Chipping. Corner breakouts. A total waste of material. That’s why we use infrared (IR) preheating. The goal is to change how the glass behaves before the blade even touches it. How it actually works Think of IR lamps like a targeted heat wave. They shoot short-wave radiation right into the glass, warming it up from the inside. This relaxes the internal tension and makes the molecular structure a bit more “forgiving.” When the glass is warm, the score line comes out clean. The crack follows a straight path instead of jumping around. You get a crisp, satisfying snap instead of those jagged, ugly edges. Setting up the lamps Usually, we mount these lamps in a bridge right in front of the cutting head. They have to be high-intensity because the glass is moving fast—you only have a few seconds to get the temperature right. But here’s the trick: you have to find the sweet spot between wattage and line speed. If the lamps are too weak, the glass stays cold and you’re right back to square one with the chipping. But if you crank them up too high? You risk warping the glass or causing thermal shock. We usually aim for a steady heat zone that covers the entire width of the sheet. The trade-offs Now, this isn’t some magic wand. There’s a balancing act involved. If the glass gets too hot, the score can go too deep or even “burn” into the surface. That makes the break much harder to control. You’ve got to tune the intensity based on how thick your glass is and how fast your line is running. And a quick tip on the hardware: don’t skimp on the cooling fans. If those lamp housings overheat, they’ll fry your wiring, and then you’ve got a much bigger problem on your hands.