
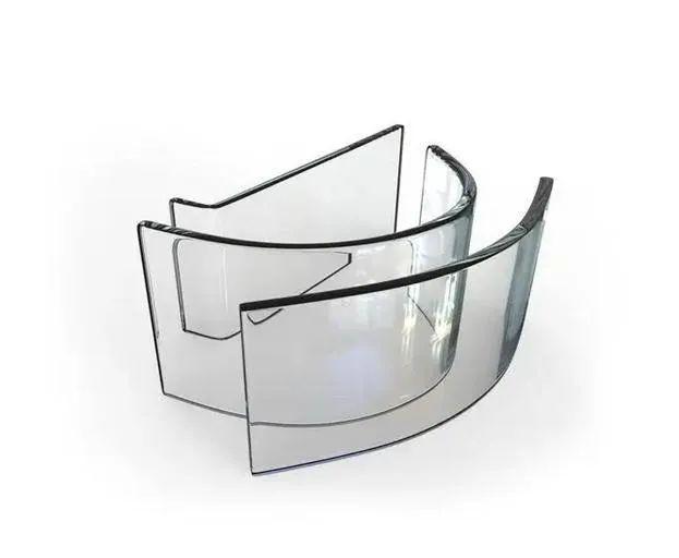
Getting the Heat Right for Silk-Screened Glass
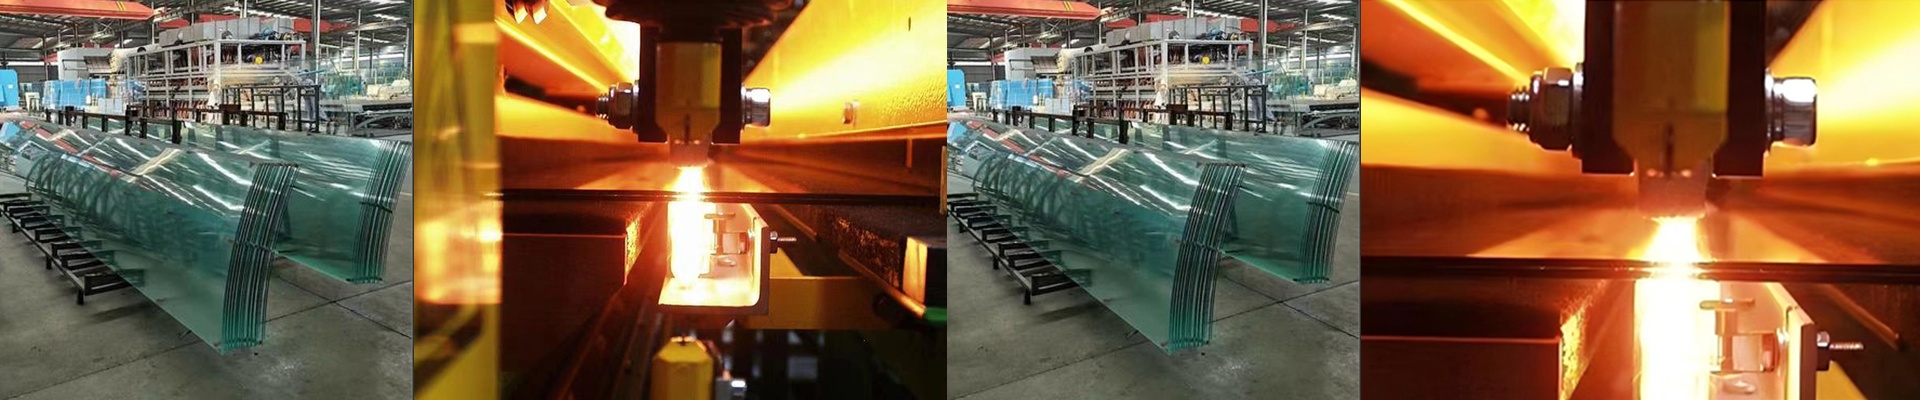
Here is the struggle: when you try to print and temper glass in one go, you’re basically fighting a war between the heat and the ink. You need enough heat to strengthen the glass, but if you go overboard, you’ll torch your print. It’s a delicate balance. We use shortwave IR lamps to handle this. The trick is all about timing. Shortwave IR is great because it punches through the glass fast. It gets the inside of the glass hot while keeping the surface exposure time short. That’s the sweet spot. If you crank the lamps too high or let the glass crawl along the conveyor, the pigments in the ink start to break down. Suddenly, your crisp edges are blurry and your colors look… off. You have to play with the wattage and the belt speed until you hit that tiny window where the glass softens but the ink stays put. Then there’s the issue of “cold spots.” If one part of the glass is cooler than the rest, you get uneven stress. That’s how you end up with warped sheets or glass that fails the fragmentation test. It’s a nightmare. To stop that, we tweak the lamp spacing and use reflectors to make sure the heat hits every inch of the sheet evenly. But there’s a catch. High-power IR arrays are fantastic for speed, but they put a massive load on your cooling system. If your quenching fans aren’t up to the task, the heat just soaks into the machine frame. It’s a domino effect. The frame gets hot, the lamps burn out early, and your controllers start drifting. The fix is simple but vital: use high-temp cabling and make sure your airflow is actually moving. If you don’t, the lamps will basically cook their own sockets.