
Introduction
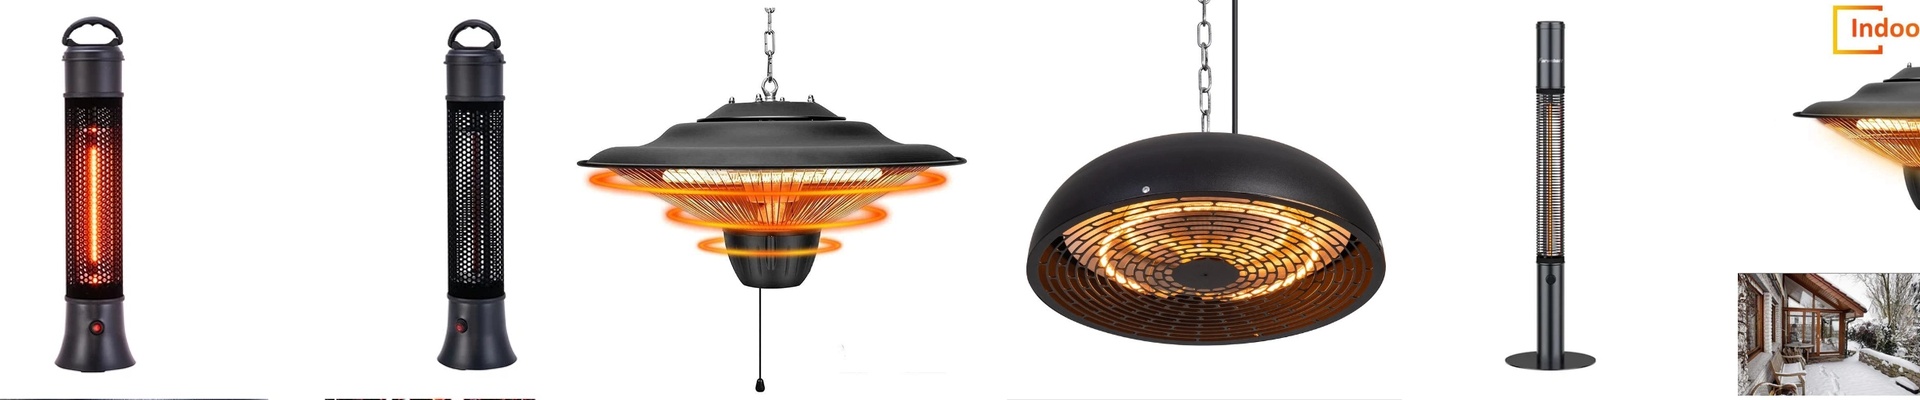
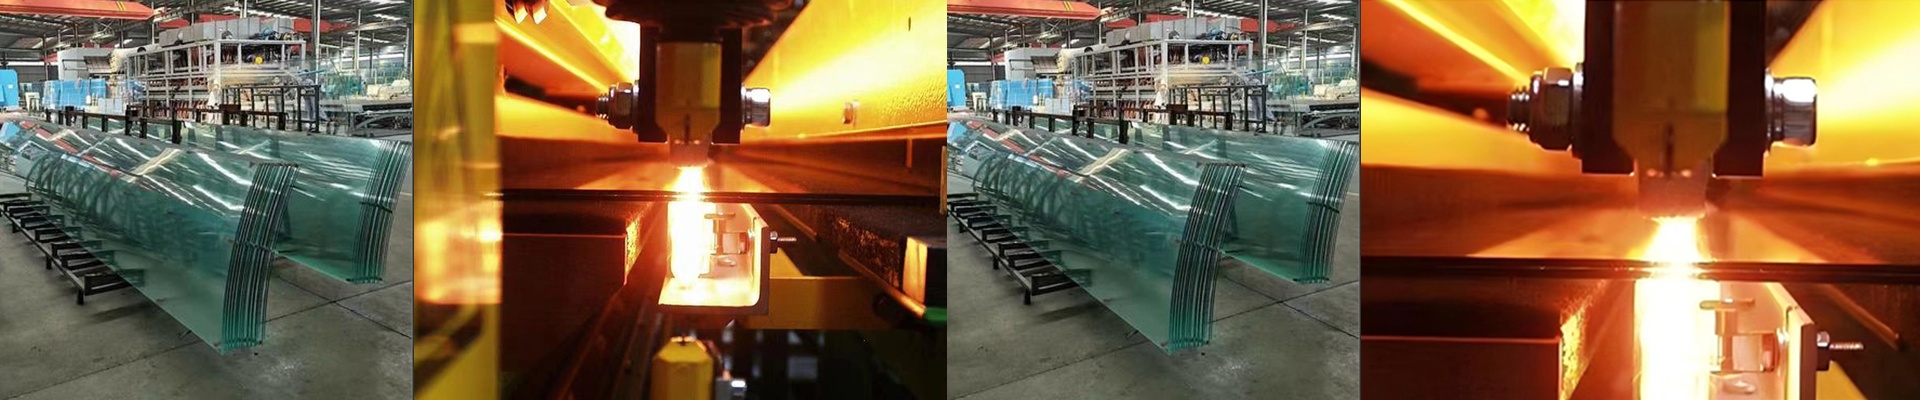
We built this infrared radiator for one very specific reason: to let you temper glass right after you screen-print it, without smudging the details. The whole game comes down to heat control. Too much, and the ink bleeds. Too little, and the glass doesn’t get strong enough. So we leaned into shortwave infrared—fast, focused heat—so tempering can happen immediately after printing, in one clean pass.
The Inside Story: Power, Voltage, and Size
This unit was designed around a compact tube that slips into tight spaces. We run the lamp at 400V to pack serious power into a small footprint, so you get the heat density you need without needing a giant heater stretching across the line. The active heating length is 300mm, which keeps the heat right where you need it—on the printed area. And the wattage is sized to jump into action fast. Cold start? It hits operating temperature in seconds, not minutes. That quick response isn’t just nice to have. It cuts changeover time and keeps the line from sitting idle and soaking up extra heat, which helps keep the ink layer steady.
Materials and Design: Keeping It Simple, Keeping It Tough
Inside, a halogen capsule runs hot and clean, and holds steady through constant heating and cooling cycles. The quartz envelope handles the shock of rapid on/off switching and lets shortwave infrared pass through cleanly. The R7s connector? Practical choice. It makes solid contact, handles high current, and makes replacements easy—just pop it in and go. And that coating on the envelope isn’t there to look pretty. It’s selective, shaping the output so you get less visible glare and more infrared where glass absorbs it best.
What It Feels Like on the Floor: Tempering Without Losing the Art
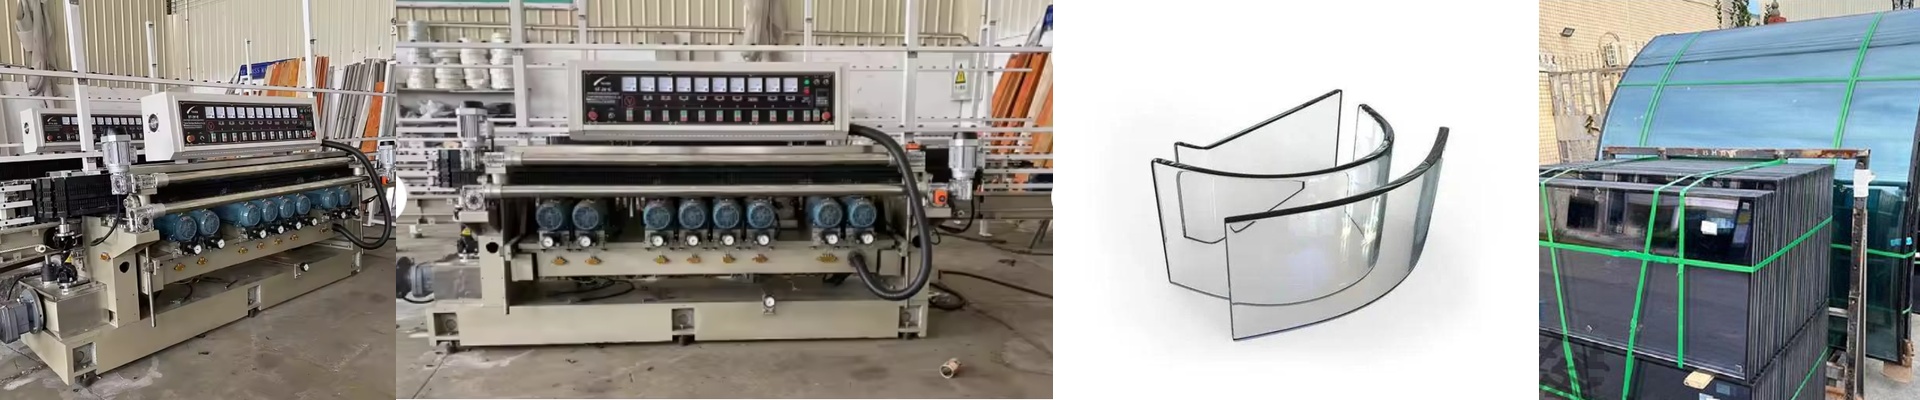
With glass silk-screening, you’re always balancing two things: keeping the pattern sharp and giving the glass real strength. This radiator gives you a short, controlled burst of heat that heats the surface fast while keeping the heat from migrating into the ink. The payoff is big: you can add tempering right into the line, which means less handling and fewer scrapped pieces. Now, the one thing to keep in mind—high power density means your cooling and electrical setup has to match the load. Size your cooling and wiring to the lamp’s rated current, and you’ll get tempering you can count on, print after print.